
Introduction
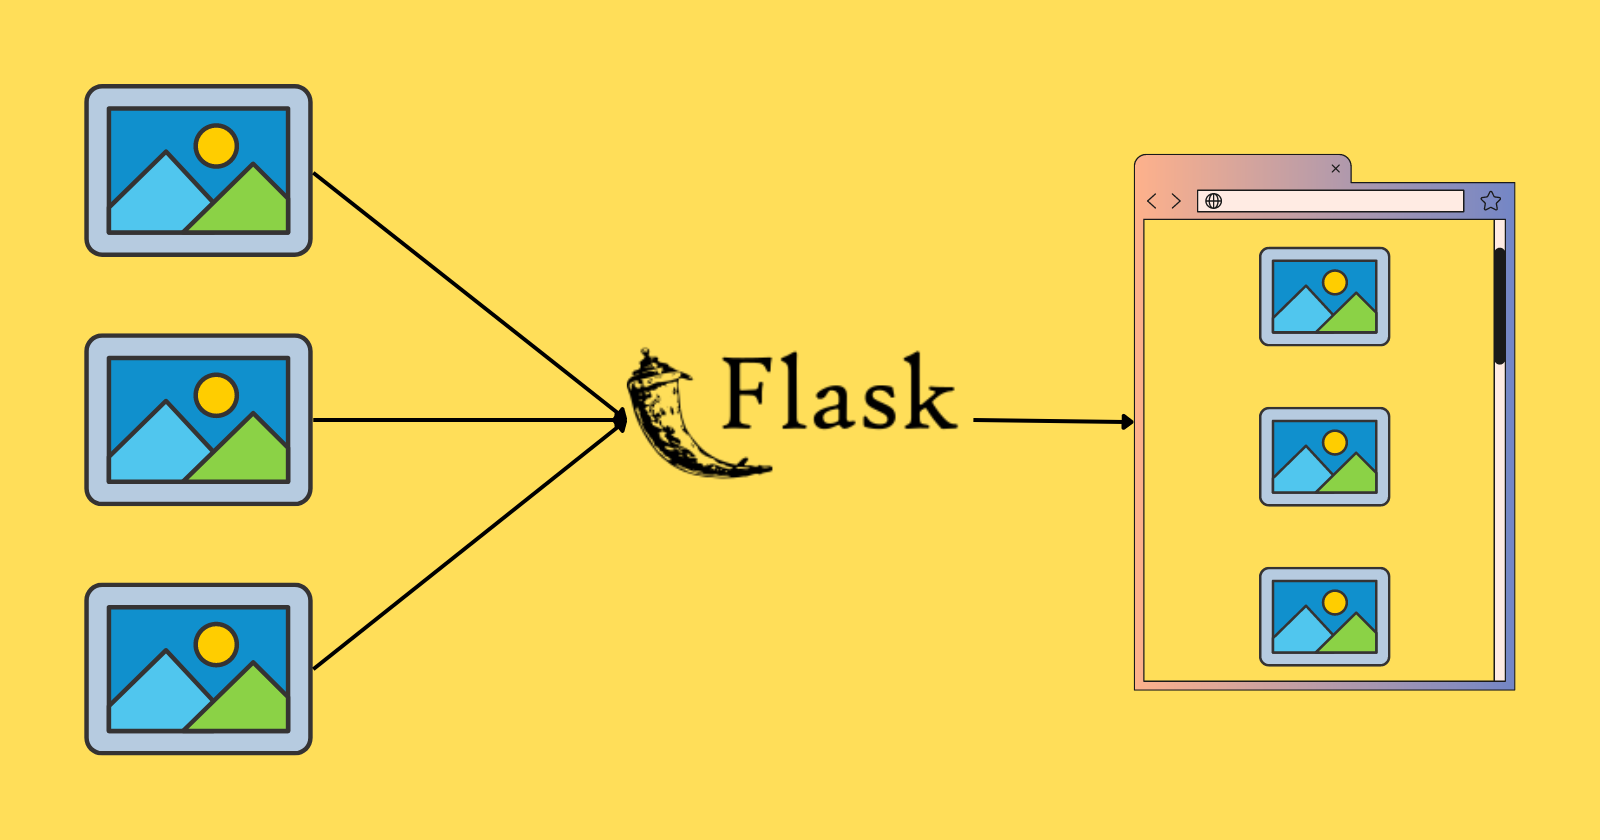
Flask is a micro web framework written in Python for web development using Python. We can do almost everything in Flask by writing Python code as we do in JavaScript for making an application.
But things get a little tricky and tedious when handling the files or images in Flask. Displaying the local or static files is a lot easier than handling the process of uploading and displaying the dynamic files.
In this article, you’ll learn the methods for handling the process of displaying and uploading images in Flask.
This article will cover two segments –
- Displaying local images – Since local images are already present in our storage system, so you’ll see the methods for displaying them on the client side.
- Uploading and displaying the dynamic images – In this segment, you’ll see the process of uploading the image to your specified folder and then displaying that uploaded image from the folder.
Pre-requisites
Python, Flask, and Jinja have been used in this article, so you should have a basic knowledge of all of them because Python has been used to write the code and Jinja has also been used in some other parts.
Don’t worry if you don’t understand Flask and Jinja templating because anyway, I will explain all the methods in detail.
Let’s begin with the first segment.
Displaying local images
As mentioned earlier, it is easy to render local images in Flask because all the images are served from the static folder of the project directory.
Using url_for method
First, you will create a directory, and then inside it create the folder structure shown below.
|
1 2 3 4 5 6 7 |
flask_directory ├── app.py ├── static │ └── Image │ └── sample.png └── templates └── img_render.html |
After the complete folder structure is created, the code to start the flask server and render the HTML template needs to be written in the app.py file. Please copy the code written below and paste it into your app.py file.
|
1 2 3 4 5 6 7 8 9 10 |
from flask import Flask, render_template app = Flask(__name__) @app.route('/') def home(): return render_template('image_render.html') if __name__ == '__main__': app.run(debug=True, port=9000) |
In this code, we first imported Flask and render_template then instantiated the app then after that created a route that will render our HTML template and finally, there is the driver code that will run the app.
Now we have to add HTML to our img_render.html file and also write the logic to render the image. With the help of Jinja templating and url_for(), images present in the static folder can be rendered.
|
1 2 3 4 5 6 7 8 9 10 |
<!DOCTYPE html> <html lang="en"> <head> <meta charset="UTF-8"> <title>Rendering Local Images Using Flask</title> </head> <body> <img src= "{{url_for('static', filename='/Image/GP.png')}}" > </body> </html> |
Basic HTML code is written in the above HTML file and "{{ url_for('static', filename='/Image/GP.png')}}" is used in the src attribute inside the img tag. This will find and render our images in the static folder. And this code is surrounded by {{ }} which is a convention for writing Jinja.
If you run your app now, you will see your image displayed.

Using variable
Apart from the method shown above, you can also use another method. In this method, by storing the image in the variable, you can display the image by inserting that variable in the img tag in the HTML file.
Again, you create the same folder structure, and this time, you will see a different approach.
This time copy the code given below in your app.py file.
|
1 2 3 4 5 6 7 8 9 10 11 12 13 14 |
from flask import Flask, render_template import os app = Flask(__name__) img = os.path.join('static', 'Image') @app.route('/') def home(): file = os.path.join(img, 'GP.png') return render_template('image_render.html', image=file) if __name__ == '__main__': app.run(debug=True) |
In the above code we have done all the same as before but this time, we first define the path of the image folder and then joined the image folder path and image inside the home function and stored it in the file variable and then passed it to the render_template along with the HTML template.
And to display the image, the image variable has to be sent to the HTML template.
|
1 2 3 4 5 6 7 8 9 10 |
<!DOCTYPE html> <html lang="en"> <head> <meta charset="UTF-8"> <title>Rendering Local Images Using Flask</title> </head> <body> <img src= "{{image}}" > </body> </html> |
If you run the app.py file, you will see the image displayed on the client side.

Now let’s move on to the next segment of the article, where you will learn to upload and display the dynamic images.
Upload and display dynamic images
Getting dynamic images displayed is a bit difficult. First, the photos have to be uploaded to the local folder and then that image has to be served from the uploaded folder. And in this process, more code has to be written.
A basic approach
In this method, you will see the most basic approach which is preferred by most developers.
As you saw in the first segment, we used the variable method to render the local image. Keeping this in mind, we will use the variable in this method too, but the process will be slightly different.
Again create the same folder structure as before and then copy the code given below in the app.py file.
|
1 2 3 4 5 6 7 8 9 10 11 12 13 14 15 16 17 18 19 20 21 22 23 |
from flask import Flask, render_template, request from werkzeug.utils import secure_filename import os app = Flask(__name__) upload_folder = os.path.join('static', 'uploads') app.config['UPLOAD'] = upload_folder @app.route('/', methods=['GET', 'POST']) def upload_file(): if request.method == 'POST': file = request.files['img'] filename = secure_filename(file.filename) file.save(os.path.join(app.config['UPLOAD'], filename)) img = os.path.join(app.config['UPLOAD'], filename) return render_template('image_render.html', img=img) return render_template('image_render.html') if __name__ == '__main__': app.run(debug=True, port=8001) |
First, we imported the required libraries and defined and configured the path to store the uploaded images.
Then we defined a route that would handle the post request and defined a upload_file function to save and display the image.
In the upload_file function, we took user input and then saved it in our upload folder path and then stored that uploaded input in the img variable and sent it to our HTML template, and finally rendered the HTML template.
Now you must be wondering why we used secure_filename here. This ensures that what the user is inputting is secure and should always be used to secure the filename.
After this, now you have to copy the code given below in the image_render.html file in the templates folder.
|
1 2 3 4 5 6 7 8 9 10 11 12 13 14 15 16 17 18 19 20 |
<!DOCTYPE html> <html lang="en"> <head> <meta charset="UTF-8"> <title>Rendering Dynamic Images Using Flask</title> </head> <body> <form action="{{ url_for('upload_file') }}" enctype="multipart/form-data" method="POST"> <input name="img" type="file"/> <input type="submit"/> </form> {% if img %} <h1>Rendered Image</h1> <img src="{{img}}"> {% else %} <h1>Image will be render here...</h1> {% endif %} </body> </html> |
Now in this code, we have inserted a simple form tag that handles the POST request which comes from the upload_file function and then inside it we have inserted two input tags one helps to choose the file and the other handles the submission.
And further, in this code, we have rendered the image.
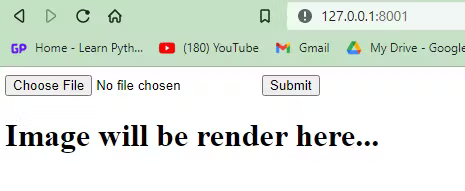
The above image shown is before rendering the dynamic image from the user.
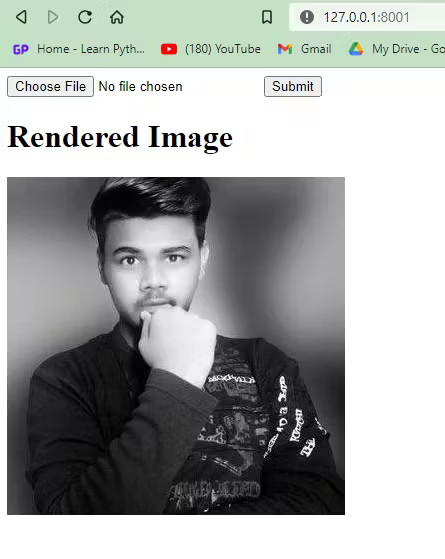
The above image shown is after uploading the dynamic image from the user.
Using different method
In the earlier approach, you saw that we were storing the image in the variable and sending it to the HTML template, and then displaying the image from there.
Now in this method, instead of using the variable method, we will use the send_from_directory method of Flask.
Create the same folder structure and copy the below code in app.py file.
|
1 2 3 4 5 6 7 8 9 10 11 12 13 14 15 16 17 18 19 20 21 22 |
from flask import Flask, request, render_template, send_from_directory from werkzeug.utils import secure_filename import os app = Flask(__name__) upload = 'D:/SACHIN/Pycharm/Image rendering/Dynamic Img Render/uploads' app.config['UPLOAD'] = upload @app.route('/', methods=['GET', 'POST']) def file_upload(): if request.method == 'POST': f = request.files['file'] filename = secure_filename(f.filename) f.save(os.path.join(app.config['UPLOAD'], filename)) return send_from_directory(app.config['UPLOAD'], filename) return render_template('render.html') if __name__ == '__main__': app.run(debug=True, port=4339) |
We have written almost the same code which was written earlier in the method, the only difference is that this time instead of storing the image in a variable, we are rendering it directly from our upload folder with the help of send_from_directory method of Flask.
This time our HTML template will have only one form with two input tags. Create a render.html file inside the templates folder and copy the code below.
|
1 2 3 4 5 6 7 8 9 10 11 |
<html> <head> <title>Uploading a dynamic image</title> </head> <body> <form action = "/" method = "post" enctype="multipart/form-data"> <input type="file" name="file" /> <input type = "submit" value="Upload"> </form> </body> </html> |
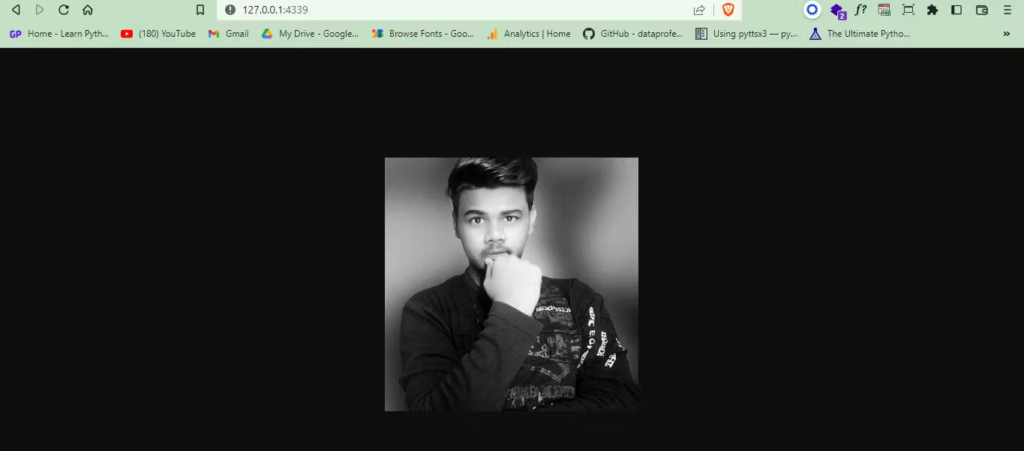
If you run the app, the selected image will be uploaded to the upload folder and then displayed on the client side with the help of send_from_directory.
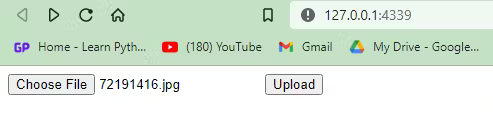
The above image shown is before uploading and displaying the specified image.
The above image shown is after uploading and displaying the specified image.
You can perform this method with a different approach. In this approach, you can create a separate route to display the image. Here’s how you can do it.
The process will be the same as in the previous approach, but in this first, you will save the image and store it in a variable, then by defining a specific URL you will display the image with the help of the send_from_directory function.
|
1 2 3 4 5 6 7 8 9 10 11 12 13 14 15 16 17 18 19 20 21 22 23 24 25 |
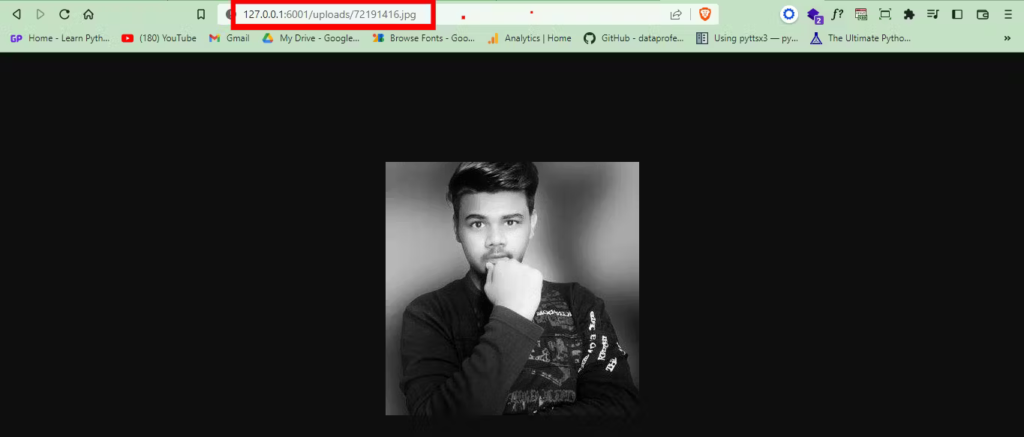
import os from flask import Flask, render_template, request, redirect, url_for, send_from_directory from werkzeug.utils import secure_filename UPLOAD_FOLDER = 'D:/SACHIN/Pycharm/Image rendering/Image_Rendering' app = Flask(__name__) app.config['UPLOAD_FOLDER'] = UPLOAD_FOLDER @app.route('/', methods=['GET', 'POST']) def upload_file(): if request.method == 'POST': file = request.files['file'] filename = secure_filename(file.filename) file.save(os.path.join(app.config['UPLOAD_FOLDER'], filename)) return redirect(url_for('download_file', name=filename)) return render_template('upload.html') @app.route('/uploads/<name>') def display_file(name): return send_from_directory(app.config["UPLOAD_FOLDER"], name) if __name__ == '__main__': app.run(debug=True, port=6001) |
Here we are doing the same but this time we have created a new route that will normally be used to display the image and in our upload_file function we have used the redirect function which will redirect to the specified route.
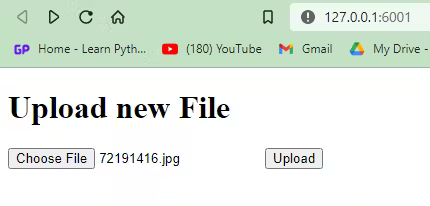
Create a file named upload.html inside the templates folder just like you’ve done every time and then copy the below code.
|
1 2 3 4 5 6 7 8 9 10 11 |
<!doctype html> <html> <title>Upload new File</title> <body> <h1>Upload new File</h1> <form enctype="multipart/form-data" method="post"> <input name=file type=file> <input type=submit value=Upload> </form> </body> </html> |
If you will run the app and try to upload the image then the uploaded image will be displayed on a different route.
Conclusion
Uploading an image and then displaying it is a bit tricky and in this article, you saw how to upload and display an image in Flask.
In this article, you saw how to render static images and how to upload and display dynamic images.
You saw two methods for rendering static files and two methods for uploading and displaying dynamic files.
With the help of this article, you must have got an idea of how to handle static and dynamic files with Flask and also cleared some concepts of Flask. Some of these methods you may already know but some methods you may not know.
🏆Other articles you might like if you like this article
✅An intuitive guide on data augmentation along with the techniques.
✅Implement a custom deep learning model into the Flask app for image recognition.
✅Build your first command line interface using Python.
✅Learn how to execute the dynamically generated code using Python.
✅Make attractive web pages using Python by integrating TailwindCSS into the Flask.
✅Python virtual environments: best practices and hands-on guide.
✅Extract information from the web pages using Python and BeautifulSoup.
That’s all for now
Keep Coding✌✌


